Today was designated as a play day in the studio. My friend and talented toy maker
Kate came over and we visited and messed about with fabric and paint. Kate busied herself with some thermofax screen printing, plotting away at the things she could do with it (clothing and accessories for her little friends were on the list).
I took the opportunity to experiment with a new product I picked up a couple of weeks ago, the
Gelli Arts Gel Printing Plate. (This post is pretty photo heavy.)
Its intended to monoprint fabric and paper without the fuss of having to make the gelatin plate first. Which is a grand thing because your's truly is handicapped when it comes to making the gelatin plates - don't ask, no idea why it never wants to set up for me.
I have to be honest, I went into the experiment with trepidation. I've never really been super excited about the results that I get from this kind of surface design. I fully understand that its more to do with how I'm executing it then the process itself. So I decided to give today's trial my level best to find a way that I can learn to love it.
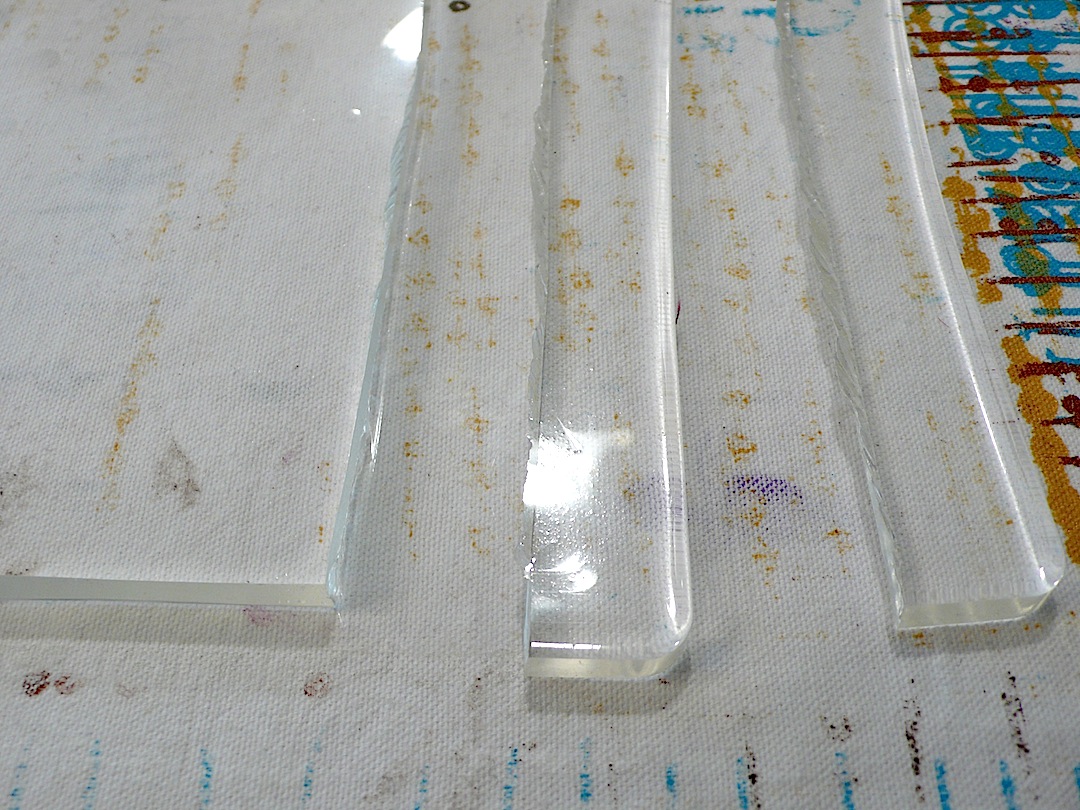
The plate that I got was 8" x 10". The reason I say was is because its now 8" x 8". I much prefer squares to rectangles so I hacked an inch off both ends. (Taking 1" off each end as opposed to 2" off one end meant that I eliminated the rounded corners on both sides to get a truer square.) I can without reservation say that this product is really really well constructed. Me and xacto knife had to put our best foot forward.
(As a side note, this thing smells really nice. Its kind of weird. But it smells very pleasant, like spices. And it wasn't just me - I made Kate sniff it and she agreed.)
Here is what the plate looked like after I adjusted the size:
I read the insert that came with it and took note of the fact that it says it doesn't like dyes. But I was curious to see how it would handle very fluid paint like dye-na-flow and something with a chemical kick like decolourant.
I cut a hunk off the one inch strips and tested both things out:
The plate held up like a champ. Didn't mind either one. (And for the record, I let the decolourant sit on it for a good ten minutes before I wiped it off to see if it had eaten a hole in the gel. It hadn't. Made me happy.)
I decided to use a hunk of this fabric from
when I beat up the crab apples that were in my backyard:
One of the things I've struggled with when it comes to gelatin plate printing is getting patterns down on the plate that I like. I decided to see if a thermofax screen print could help me along the way. I put the screen over top of the plate and printed just like I would if there was fabric beneath it:
Then I splattered some chartreuse dye-na-flow over top:
I got this:
Has some promise. I gave it another go with Jacquard paint and more dye-na-flow. This time I used a palette knife (gently since the instruction sheet says that the surface is easily nicked) and mushed the two about.
It produced a strange, kind of unexpected effect where the two blended together:

I got this:
And just a quick note about the dye-na-flow - since its so fluid it soaks clear through the fabric. (Duh, right?) Be smarter then me and plan accordingly when you are printing the fabric. I recommend a second piece of fabric over top of the one you're printing or paper towel. My hands are not exactly their normal color at the moment.
The third print was with the decolourant applied (gently) with a palette knife and I got this:
I'm most excited about that one! See those little bubbly patterns? That's unique to the plate since it allows me to move the medium around like I never could directly on the fabric. Super cool, if you ask me.
While I was not unhappy with the other two prints I got, I decided that they needed more layers. I think the biggest mistake I've made with this kind of printing in the past has been expecting it to be a final product. Not so. Its a wonderful beginning but you really need to move beyond it if you want a more complex print. Whether that is another monoprint from the plate or application of paint through another process, its an important thing to remember.
I took the sewing machine and Martha Stewart paint (with the fine tip attachment on the bottle) to the first print and ended up with this:
For the second print, I used a small chunk of the plate that I cut off at the beginning as a mini plate to stamp squares in white across the print:
I think I might have gone too far, though, when I put the orange circle on at the end:
This print may end up going into the "please help me, i'm ugly" pile of fabric. Not sure yet.
All in all, I can say that I really like the plate. There are good videos on the
Gelli Art website that show the basic ways of printing with it. I really encourage you to go beyond it and see how you can push it to get the prints you really want.
Happy printing! :)